Sprouting your own grains to make flour is incredibly easy to do and will save you quite a few dollars over store purchased sprouted flours. Sprouting grains will make the grains easier to digest as well as increasing the nutrients and allowing for maximum absorption of nutrients.
This article in the Chicago Tribune shared the encouraging info of Japanese studies presented at a United Nations Food and Agriculture Organization symposium in 2004 indicate that sprouting rice by soaking it in warm water for 8 to 24 hours can increase fiber by as much as four times, B vitamins and magnesium by as much as three times and gamma-aminobutyric acid (or GABA) by as much as 10 times.
The problem with phytic acid
Phytic acid is an anti-nutrient in grains, nuts, seeds and legumes. Phytic acid can block calcium, copper, iron, magnesium and zinc in some people. Some individuals don’t seem to have this issue, perhaps due to strong and healthy gut flora.
According to the Weston Price Foundation,Phytic acid not only grabs on to or chelates important minerals, but also inhibits enzymes that we need to digest our food, including pepsin, (1) needed for the breakdown of proteins in the stomach, and amylase,(2) needed for the breakdown of starch into sugar. Trypsin, needed for protein digestion in the small intestine, is also inhibited by phytates.(3)

Sprouting Your Grains
The first step is to choose your grain. For this article I am using rice. You will need a half gallon glass container with a screened lid. You can also purchase sprouting jars at grocery and health food stores, as well as online.
Using a clean jar, fill it no more than halfway full of rice (or your grain of choice). Rinse your grain several times until the water is clear and the grains are completely wet. Fill the jar almost to the top and soak your grains overnight. In the morning, tilt the jar and drain out all the water. Rinse the grains again and tilt jar at an angle in a bowl or on a dish rack to allow for drainage and proper air circulation.
Check your grains 2-3 times a day, rinse, drain and reset at angle. Depending upon your home temperature and climate little white buds or tails will appear on the rice within two to three days. When this occurs, sprouting is complete and you’re ready to dry your grains.
Drying Your Grains
Dehydrator-Pour grains on a dehydrator sheet evenly. Set to 113 degrees and dehydrate for 12-24 hours or until the grains are dry.
Oven Drying-Dry on a bread proof setting if you have it. Keep in oven for 12-24 hours or until the grains are dry.
If you don’t have a bread proof setting, dry at the lowest temperature for 12-24 hours or until the grains are dry.
Test for Grain Dryness
The easiest way to test for dryness is simply to weigh the grain before sprouting. After you have dried your grains weigh them again. When the grains are completely dried, they should be approximately the same weight as the grain was before sprouting.
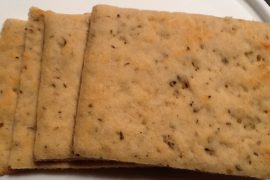
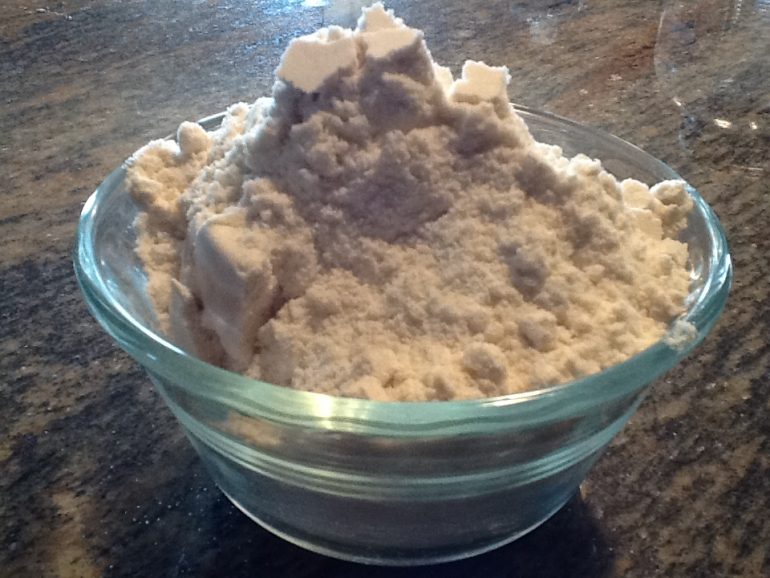
Making Flour
Grind your grains immediately (a Vitamix works great for this) and then freeze your flour until its ready to use. Use sprouted flour as you would any flour. If you’re not ready to make or use the flour right away, you can store the sprouted grains in an air tight container in your pantry or fridge.
References
- Tannenbaum and others. Vitamins and Minerals, in Food Chemistry, 2nd edition. OR Fennema, ed. Marcel Dekker, Inc., New York, 1985, p 445.
- Ibid.
- Singh M and Krikorian D. Inhibition of trypsin activity in vitro by phytate. Journal of Agricultural and Food Chemistry 1982 30(4):799-800.
Products used for this recipe: