If you are soy or dairy intolerant you may be purchasing nut milks at the store and while they may be convenient, the taste does not compare to what you can make at home for just pennies. In addition commercial nut milks may contain additives that you don’t want in your nut milk.
Here’s a look at a couple of labels of store bought milk:
Silk Almond Milk Vanilla: All Natural Almondmilk (Filtered Water, Almonds), All Natural Evaporated Cane Juice, Calcium Carbonate, Sea Salt, Locust Bean Gum, Sunflower Lecithin, Gellan Gum, D-Alpha-Tocopherol (Natural Vitamin E), Zinc Gluconate, Vitamin A Palmitate, Riboflavin (B2), Vitamin B12, Vitamin D2.
Almond Breeze Unsweetened Vanilla: Purified Water, Almonds, Tapioca Starch, Natural Vanilla Flavor With Natural Flavors, Calcium Carbonate, Sea Salt, Potassium Citrate, Carrageenan, Soy Lecithin, Vitamin A Palmitate, Vitamin D2 and D-alpha-tocopherol (Natural Vitamin E).
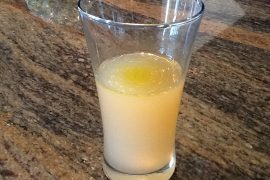
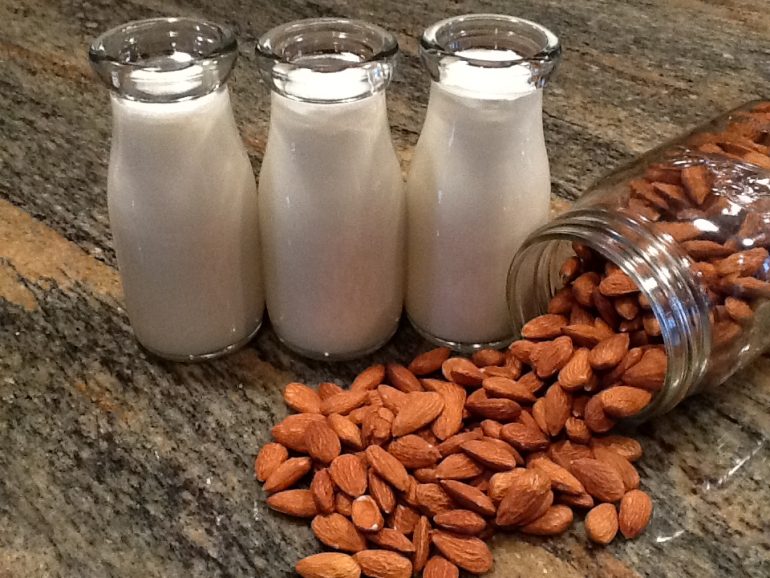
Ingredients for my almond milk: Water and almonds.
This is the advantage to making things yourself. It only contains what you want. You know when it was made, how it was made and exactly what is in it. Nut milks are incredibly easy to make, in fact there are really only two steps, soak and blend , the third step of straining your milk is optional. So lets get started…..
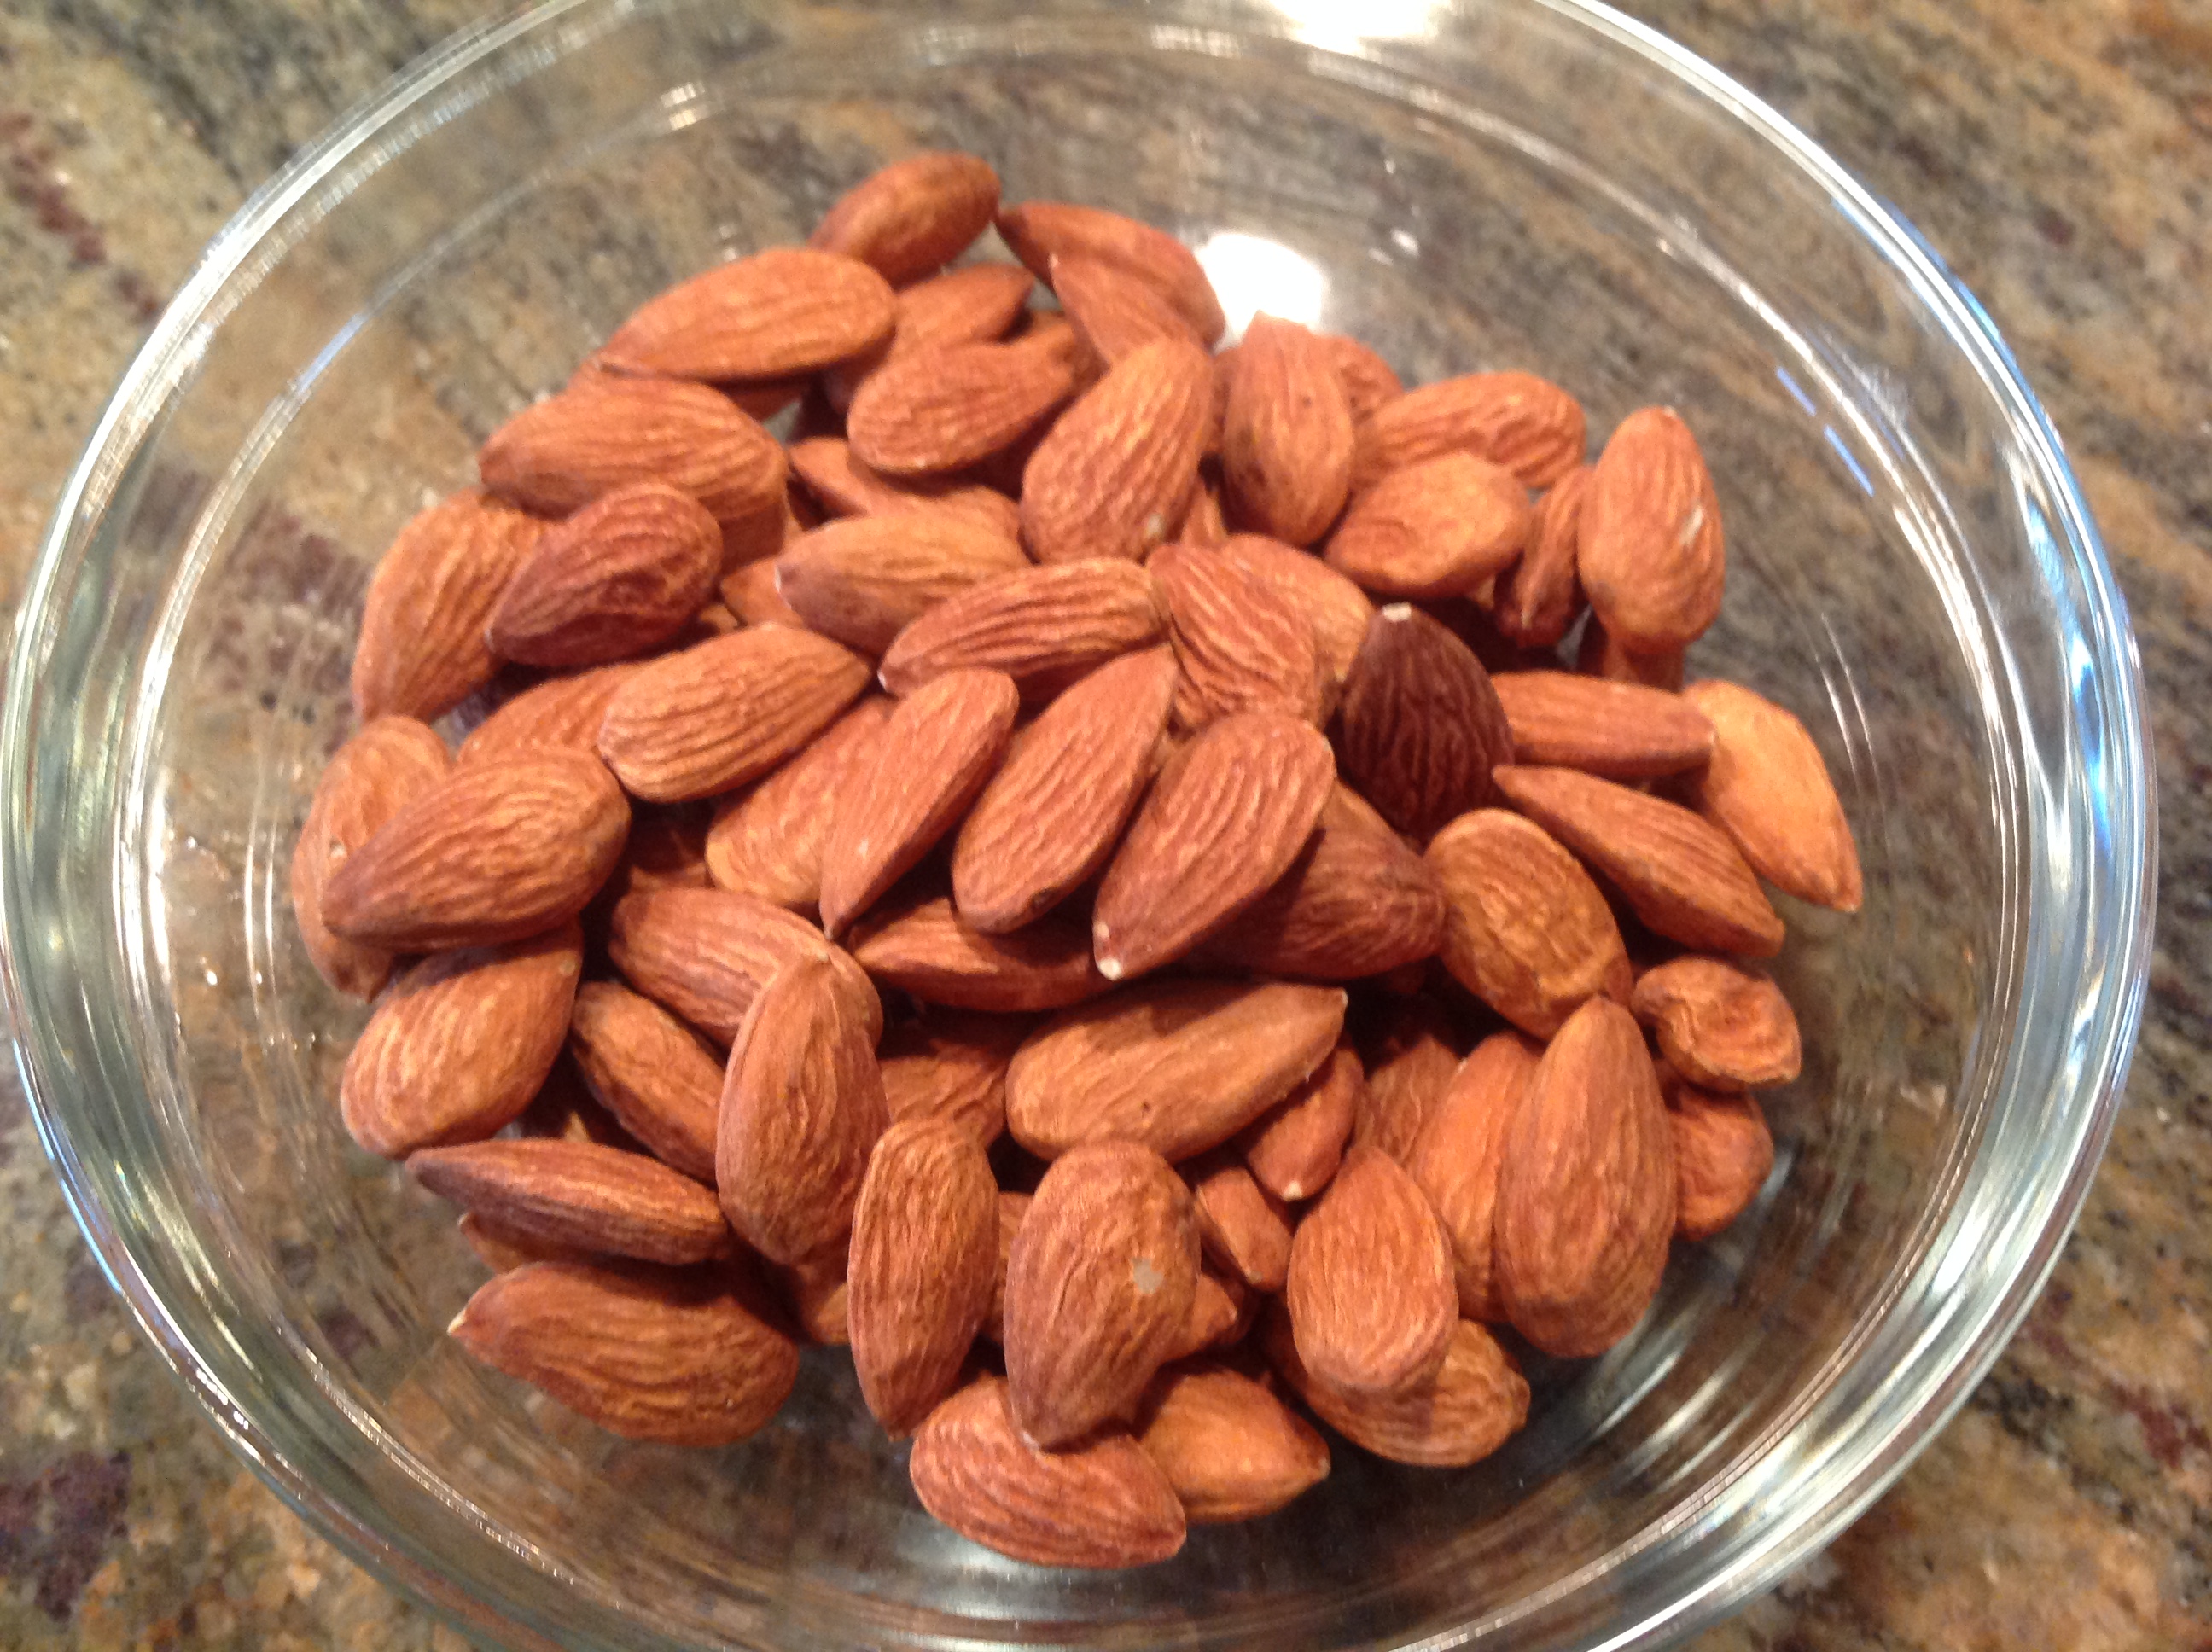
First you will place 1 cup of almonds in a bowl. Fill bowl with enough water to cover completely. Let almonds soak for 12 hours and feel free to rinse the almonds 1 or 2 times, if desired. This photo shows the almonds before soaking.
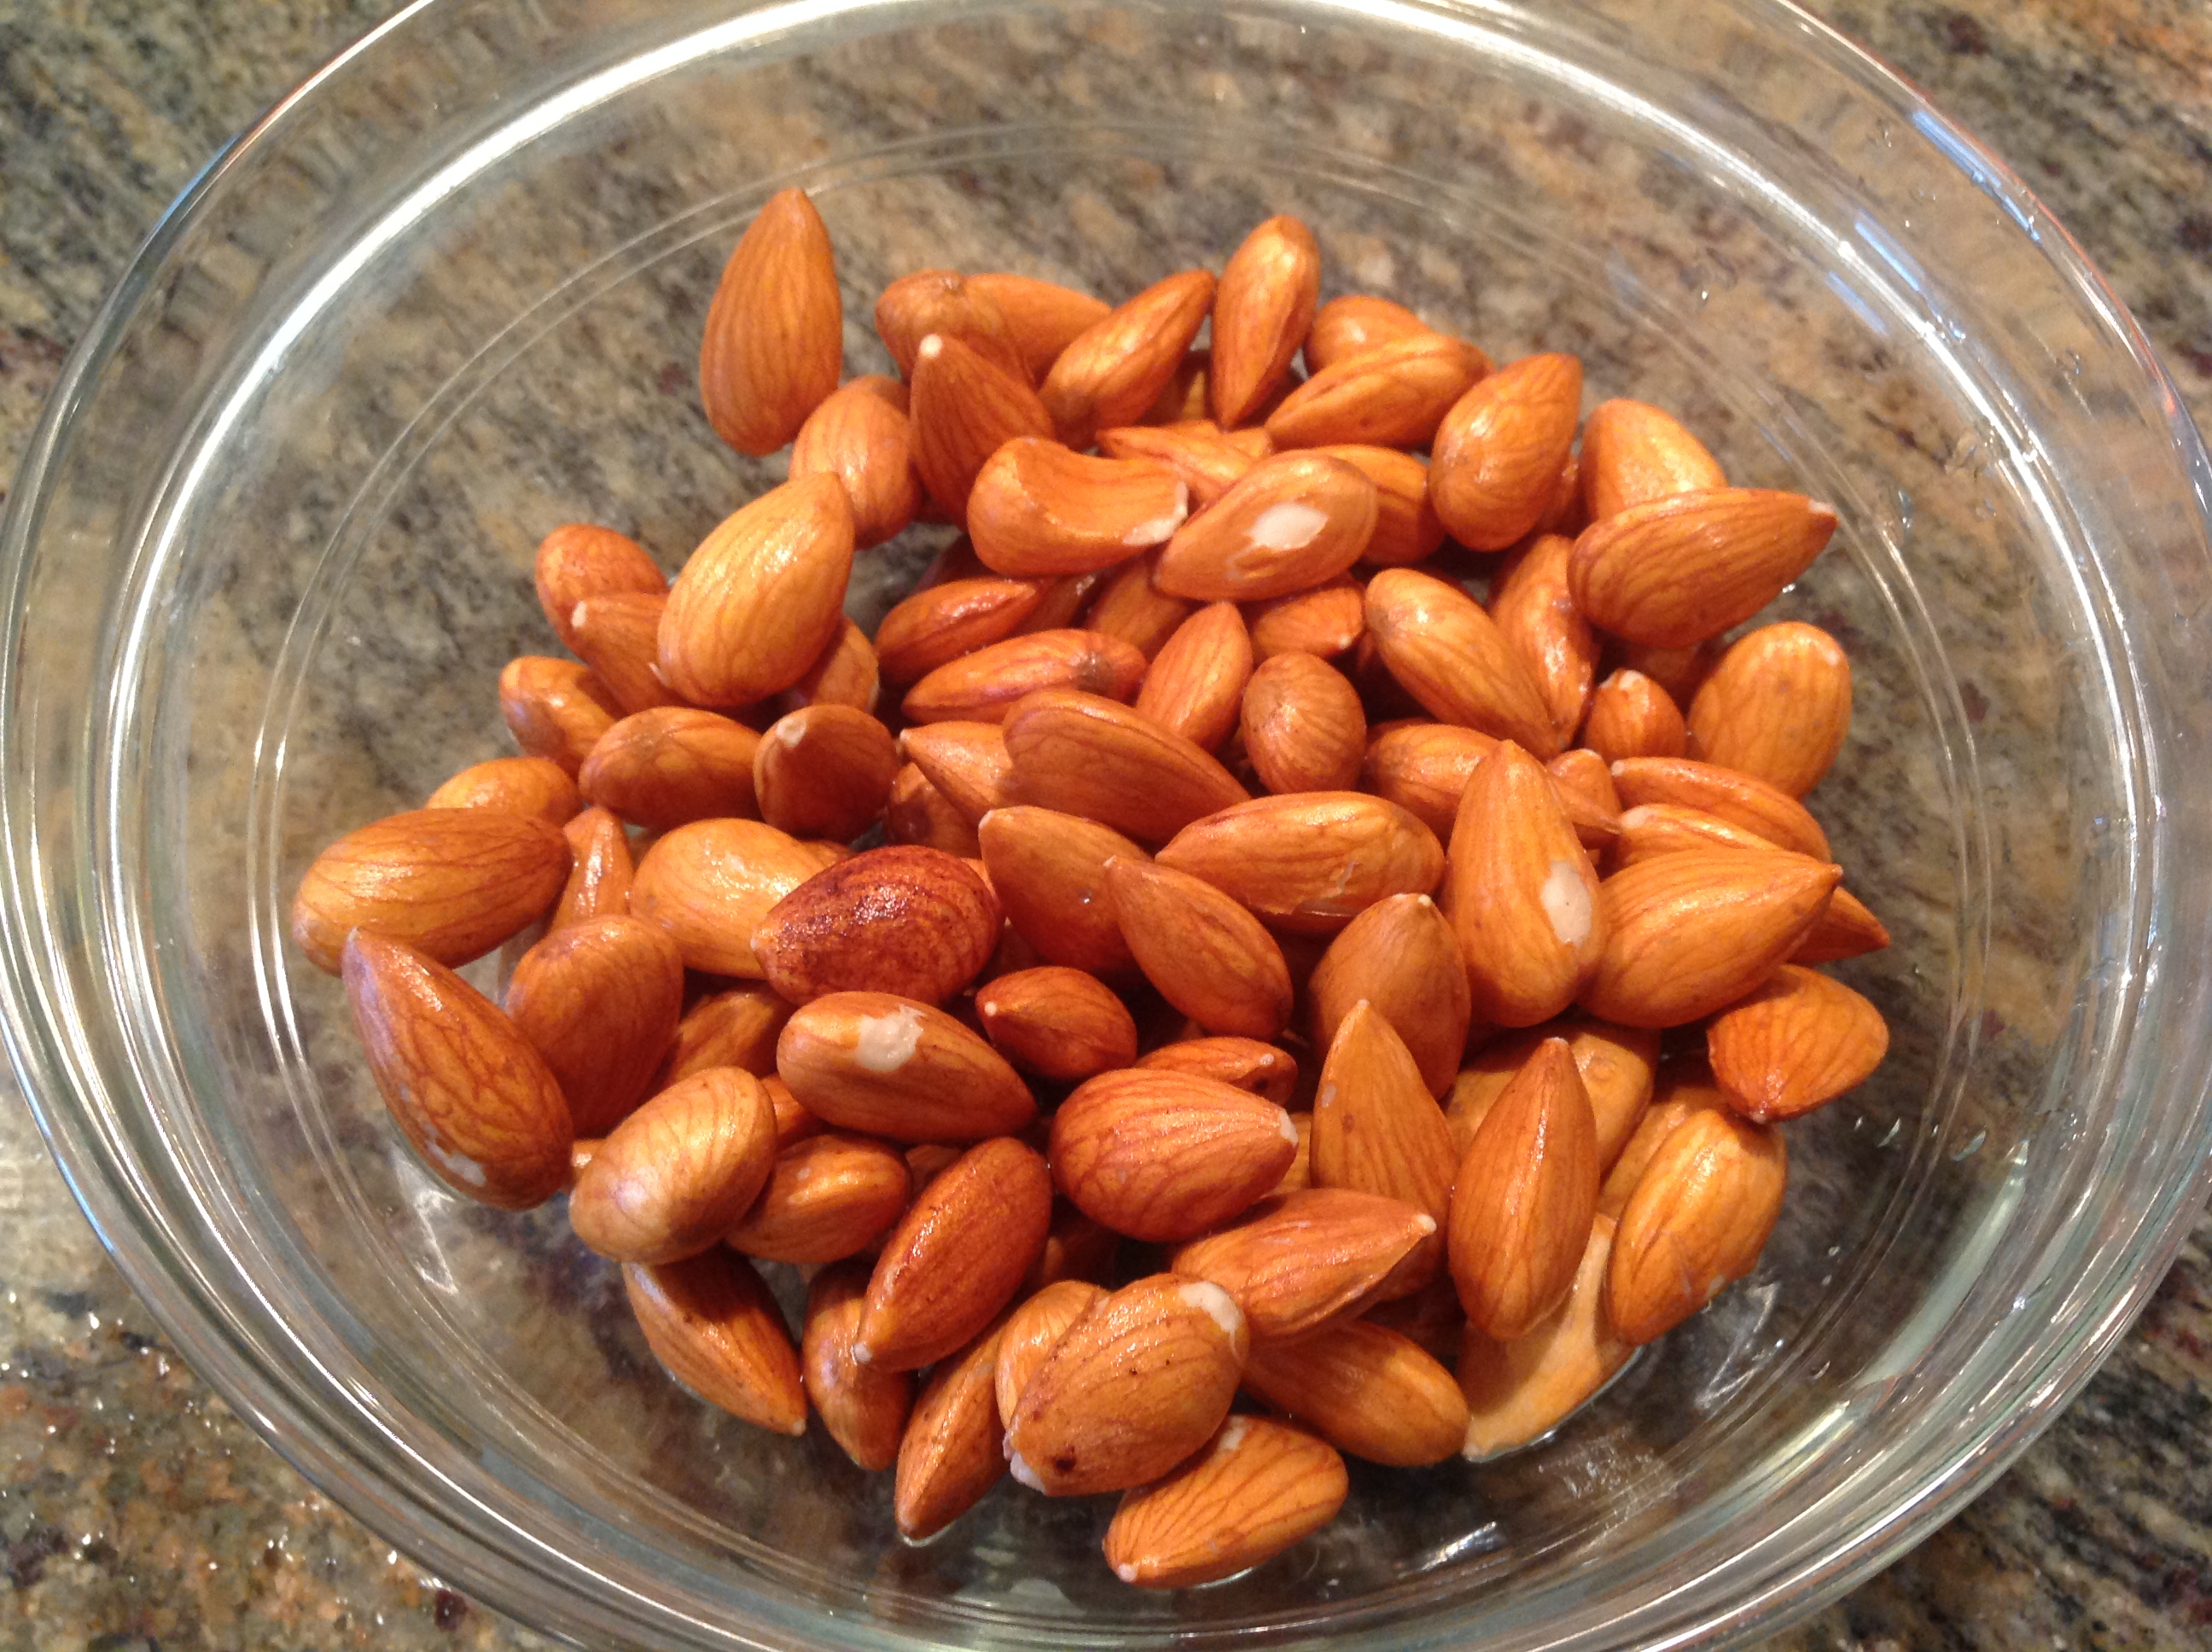
After 12 hours drain your almonds. This photo shows the almonds after they have soaked for 12 hours. Notice how nice and plump they are.
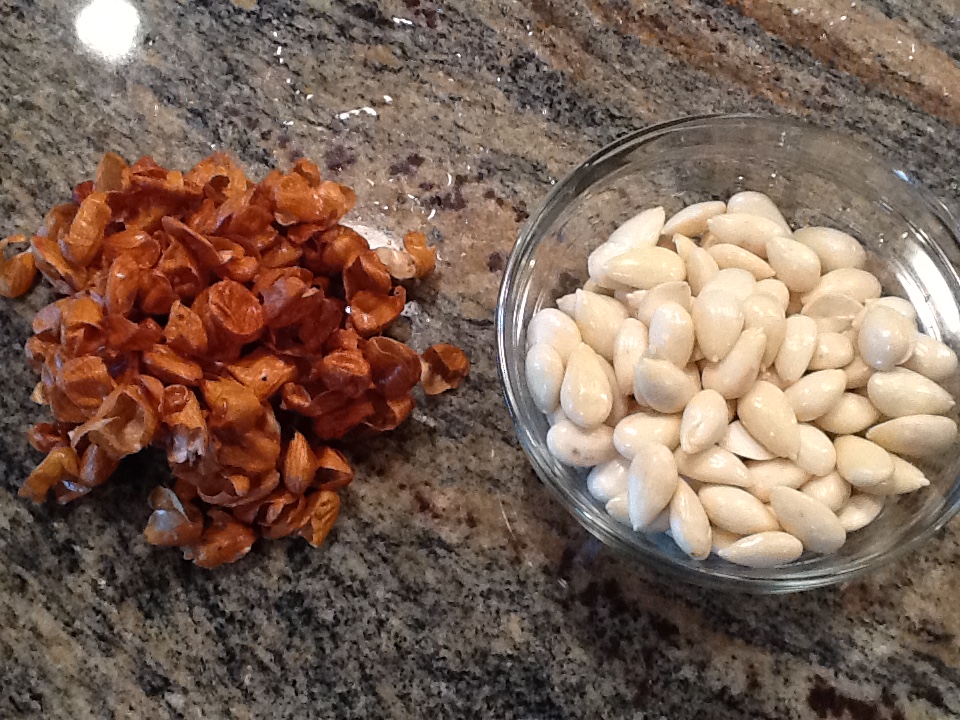
If you want, you can peel the almonds before making milk. After soaking, the almond skins slip right off with your fingers. This step will give you a pure white milk. This step is not necessary, it is simply a preference. So sometimes I leave the skins on and other times I don’t.
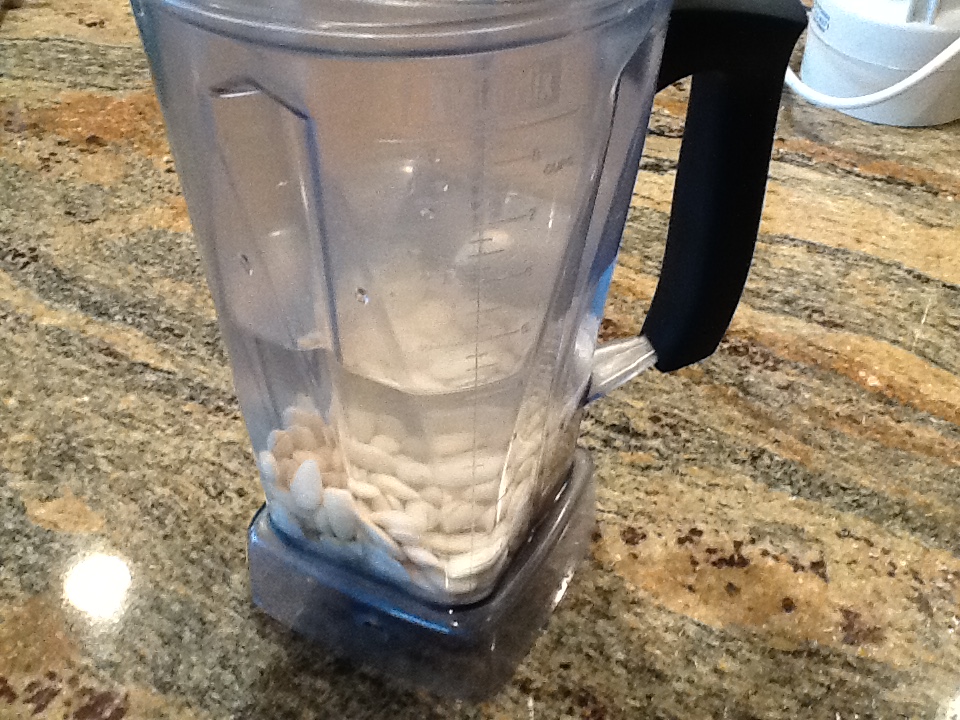
Place the almonds in a blender with 3 cups of water. Blend on high speed for two minutes.
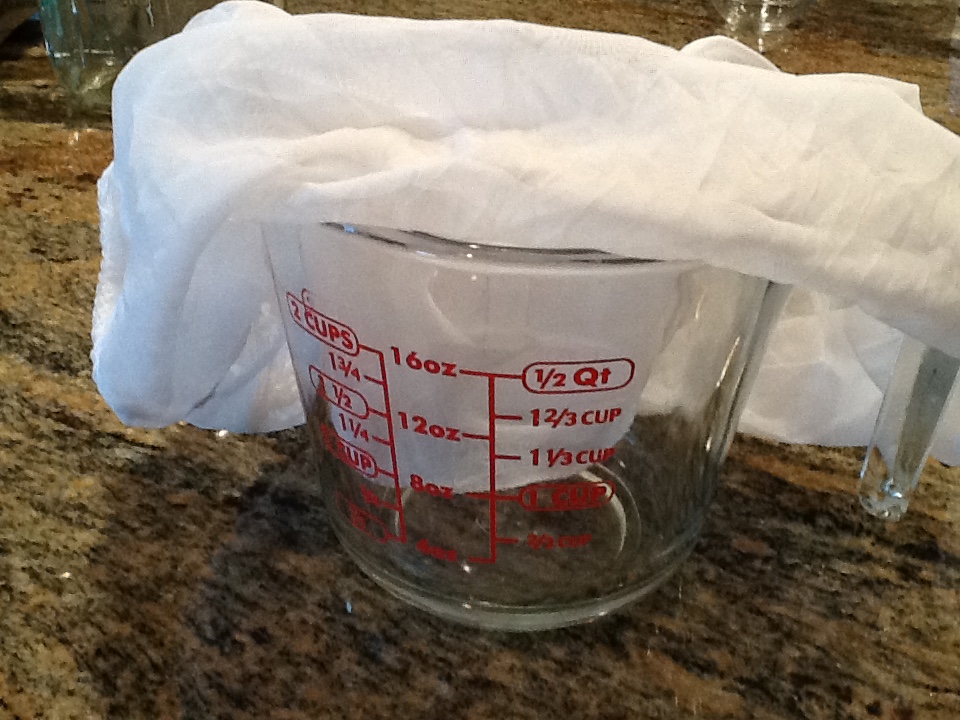
At this point you can strain your milk if desired. Place a nut milk bag in a bowl or measuring cup. Pour the milk into the bag and gently squeeze so the fiber remains behind and gives a smooth milk. Personally I don’t strain my milk. I simply pour it into a jar and refrigerate it. I just give it a quick shake before drinking.
You may also note that I didn’t add any sweeteners or flavoring. I like to keep my milk plain so it is easily added to recipes. Milk can easily be sweetened by adding pitted dates, or other sweeteners such as coconut sugar, honey, or Lakanto. Lakanto is a great option if you have candida issues or are diabetic as this sweetener does not feed candida, nor does it affect blood sugar.
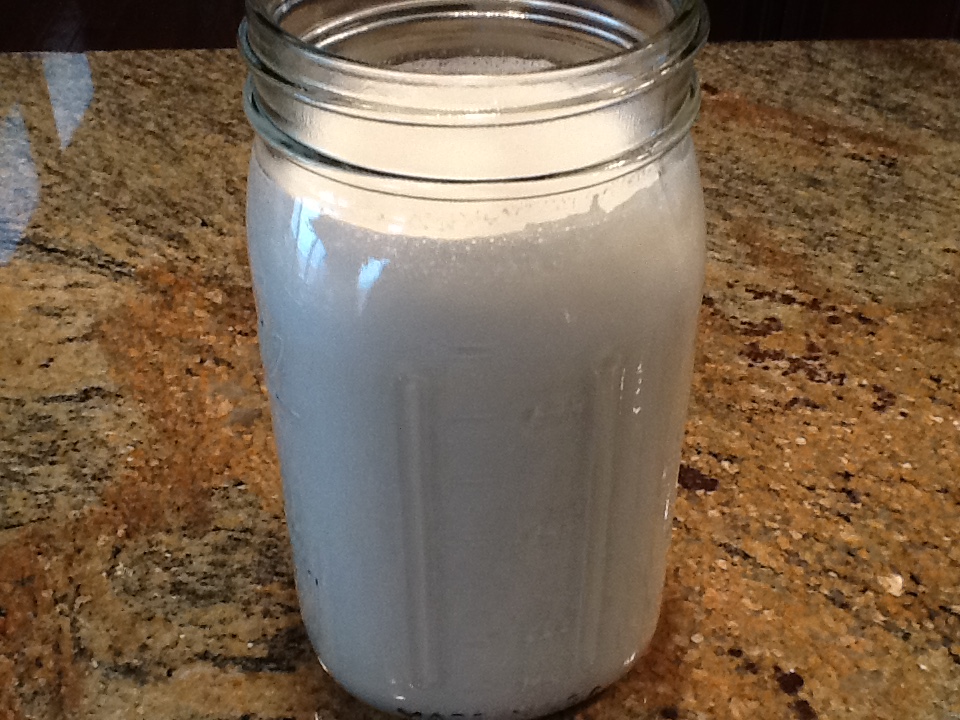
 Pour your milk into a container, refrigerate and label.
Here’s the complete recipe without scrolling through the pictures:
Ingredients:
1 C. almonds
3 C. Water
Directions:
Place almonds in a bowl and cover with water. Allow to soak for 12 hours.
Rinse and drain almonds. (If desired peel skins).
Place nuts in high speed blender with 3 cups water. Blend on high speed for two minutes.
Strain if desired. Pour into air tight container, label and refrigerate.
As mentioned I leave this milk unsweetened, so I can use it in a variety of recipes. Feel free to add the sweetener of your choice such as pitted dates , coconut sugar , Lakanto or stevia.
That’s it!
Items mentioned in this article:
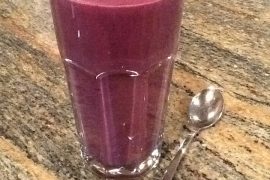
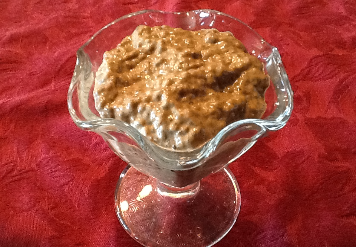
Looking for a recipe that incorporate the delicious almond milk you just made? Give this one a try:
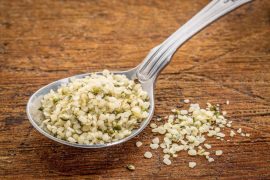
Chocolate & Blackberry Almond, Hemp, Protein Frosty